Bathroom tile tips
Planning a bathroom renovation? The tiles you choose, their visual relationship with the rest of your home, and how they are installed will make a huge difference to the outcome of your project. Here are some tips I’ve learned along the way to help select a style, check it’s fit for purpose, and ensure the installation results in the look you want.
Selecting a Style
Think of your bathroom as an extension of the rest of the house, rather than a separate room with a separate look. While you can have different colours and styles in each room, keeping certain elements, such as tiles, consistent helps the house look cohesive.
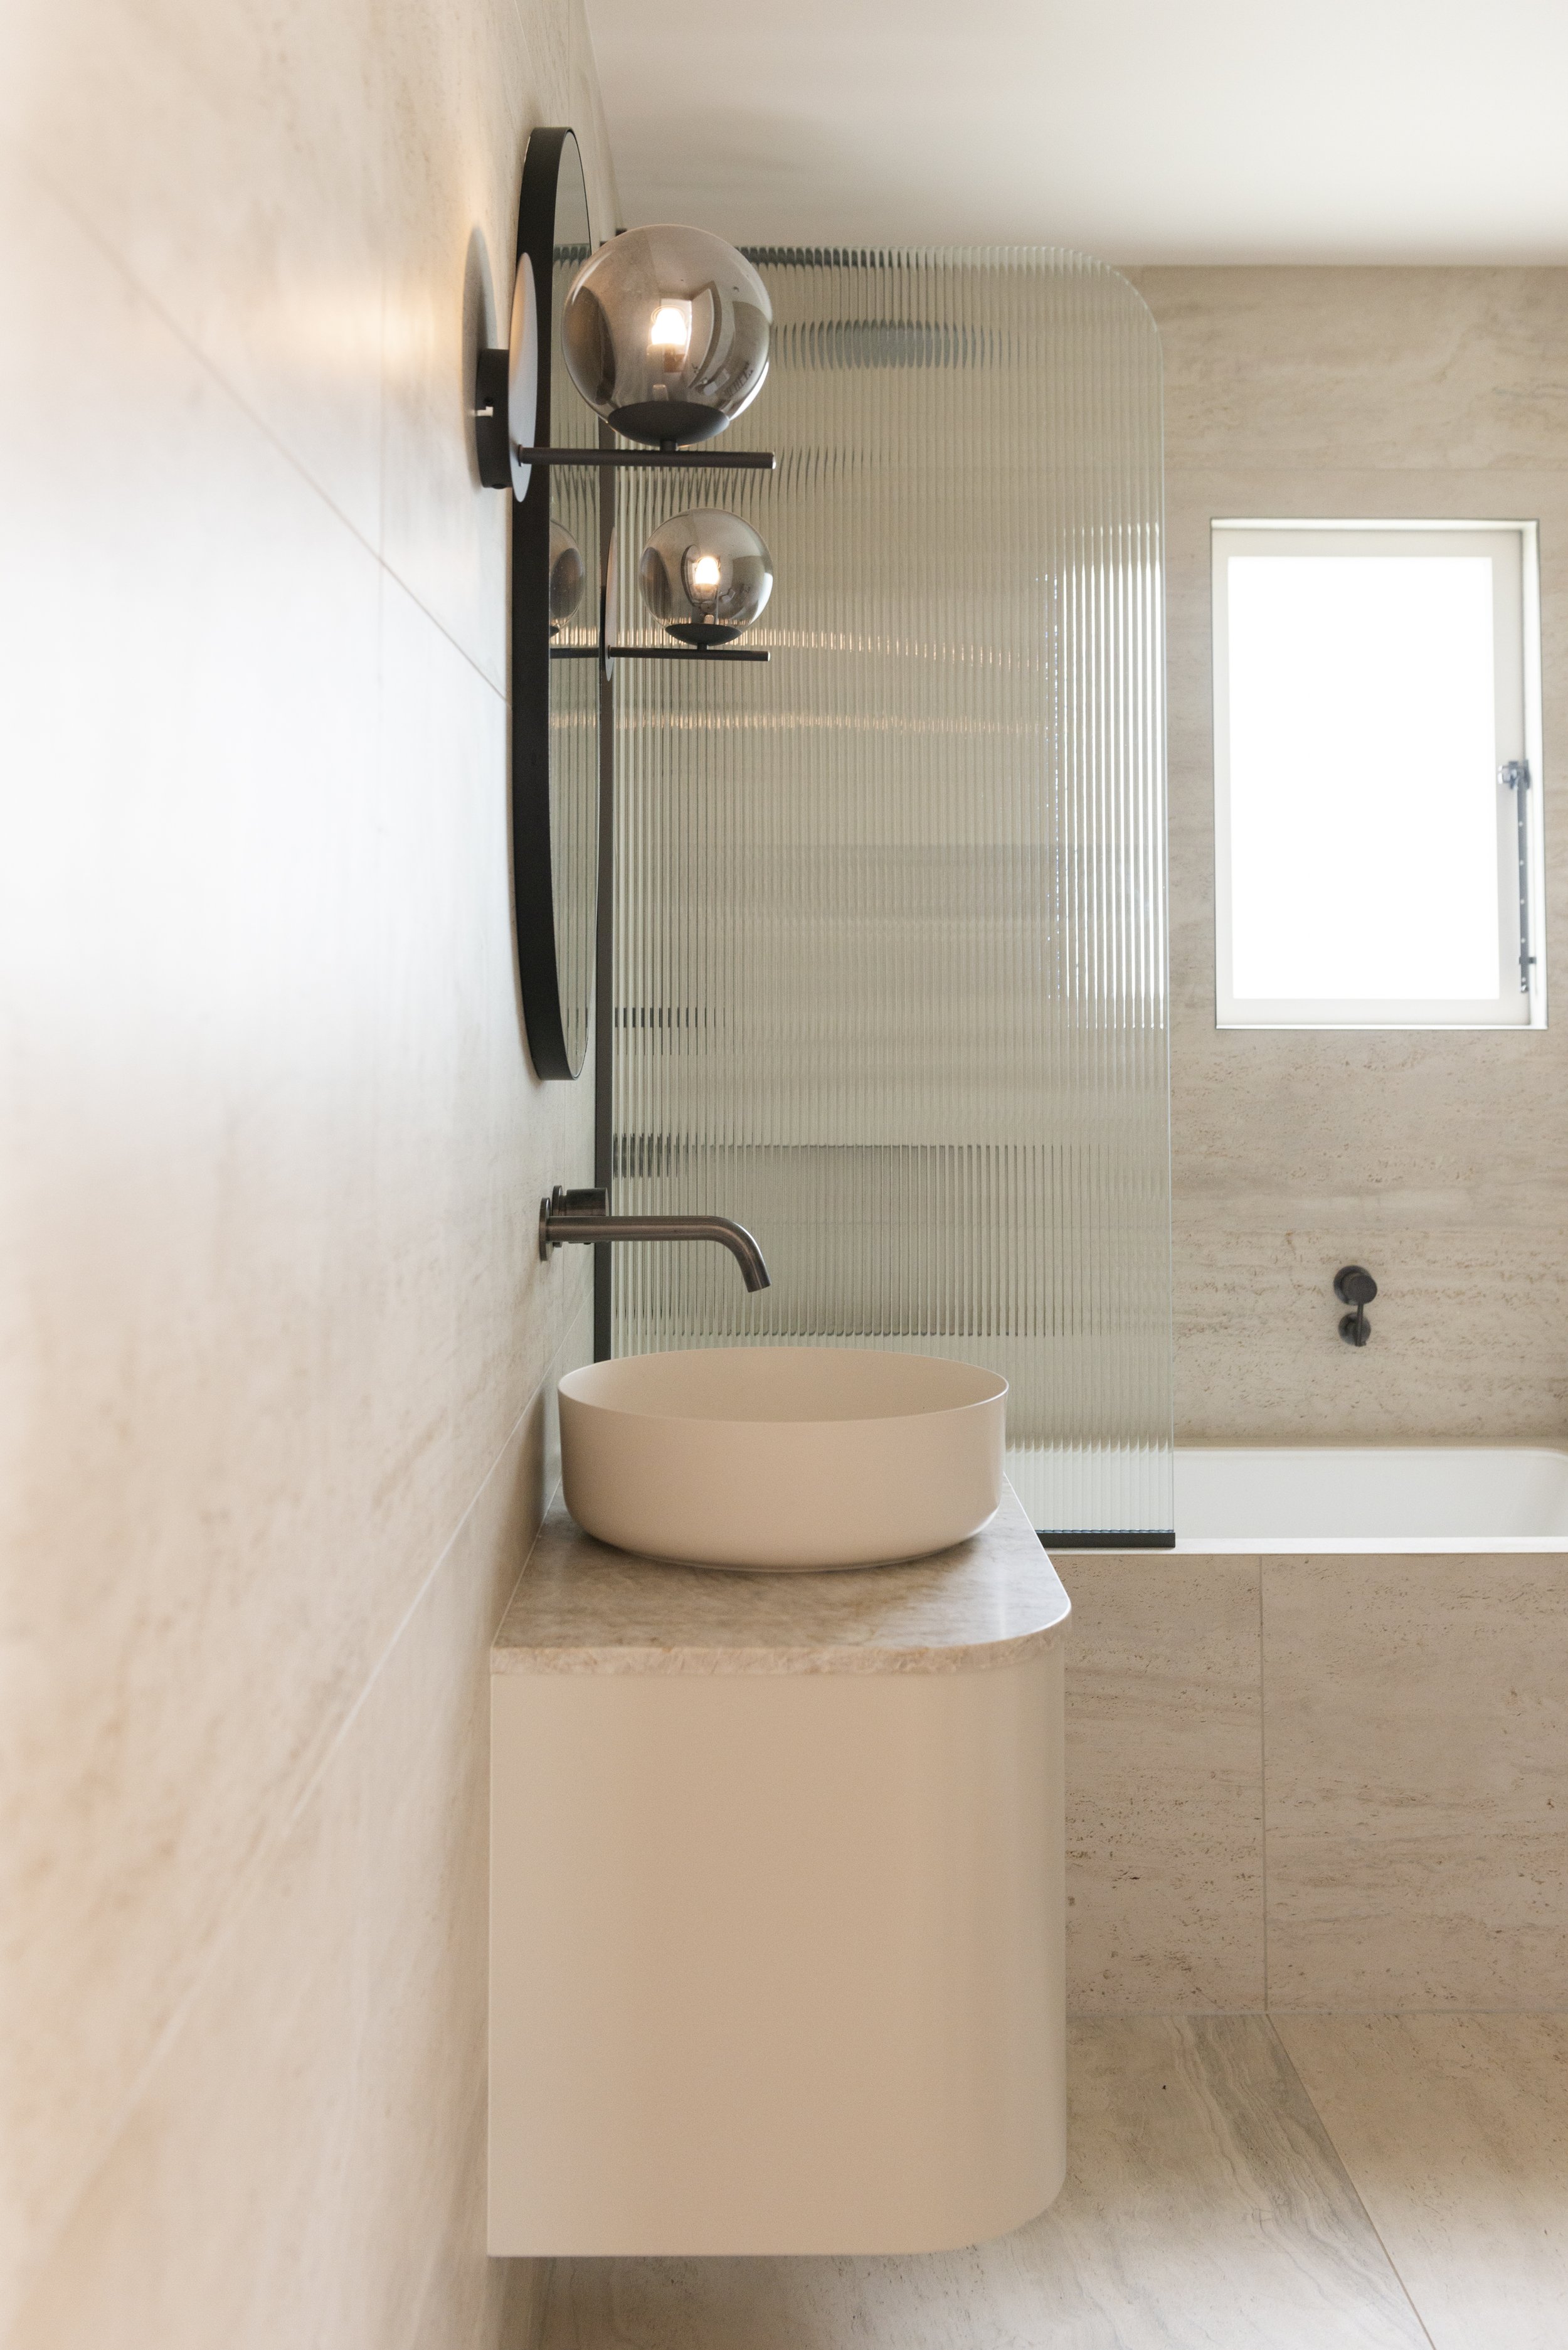
Tiling floor to ceiling creates a beautiful open, upmarket feel. But if you can’t quite afford to do that, tiling just the floor and behind the vanity or bath is a great compromise. Or tile 1200mm around the whole room and paint the upper part.
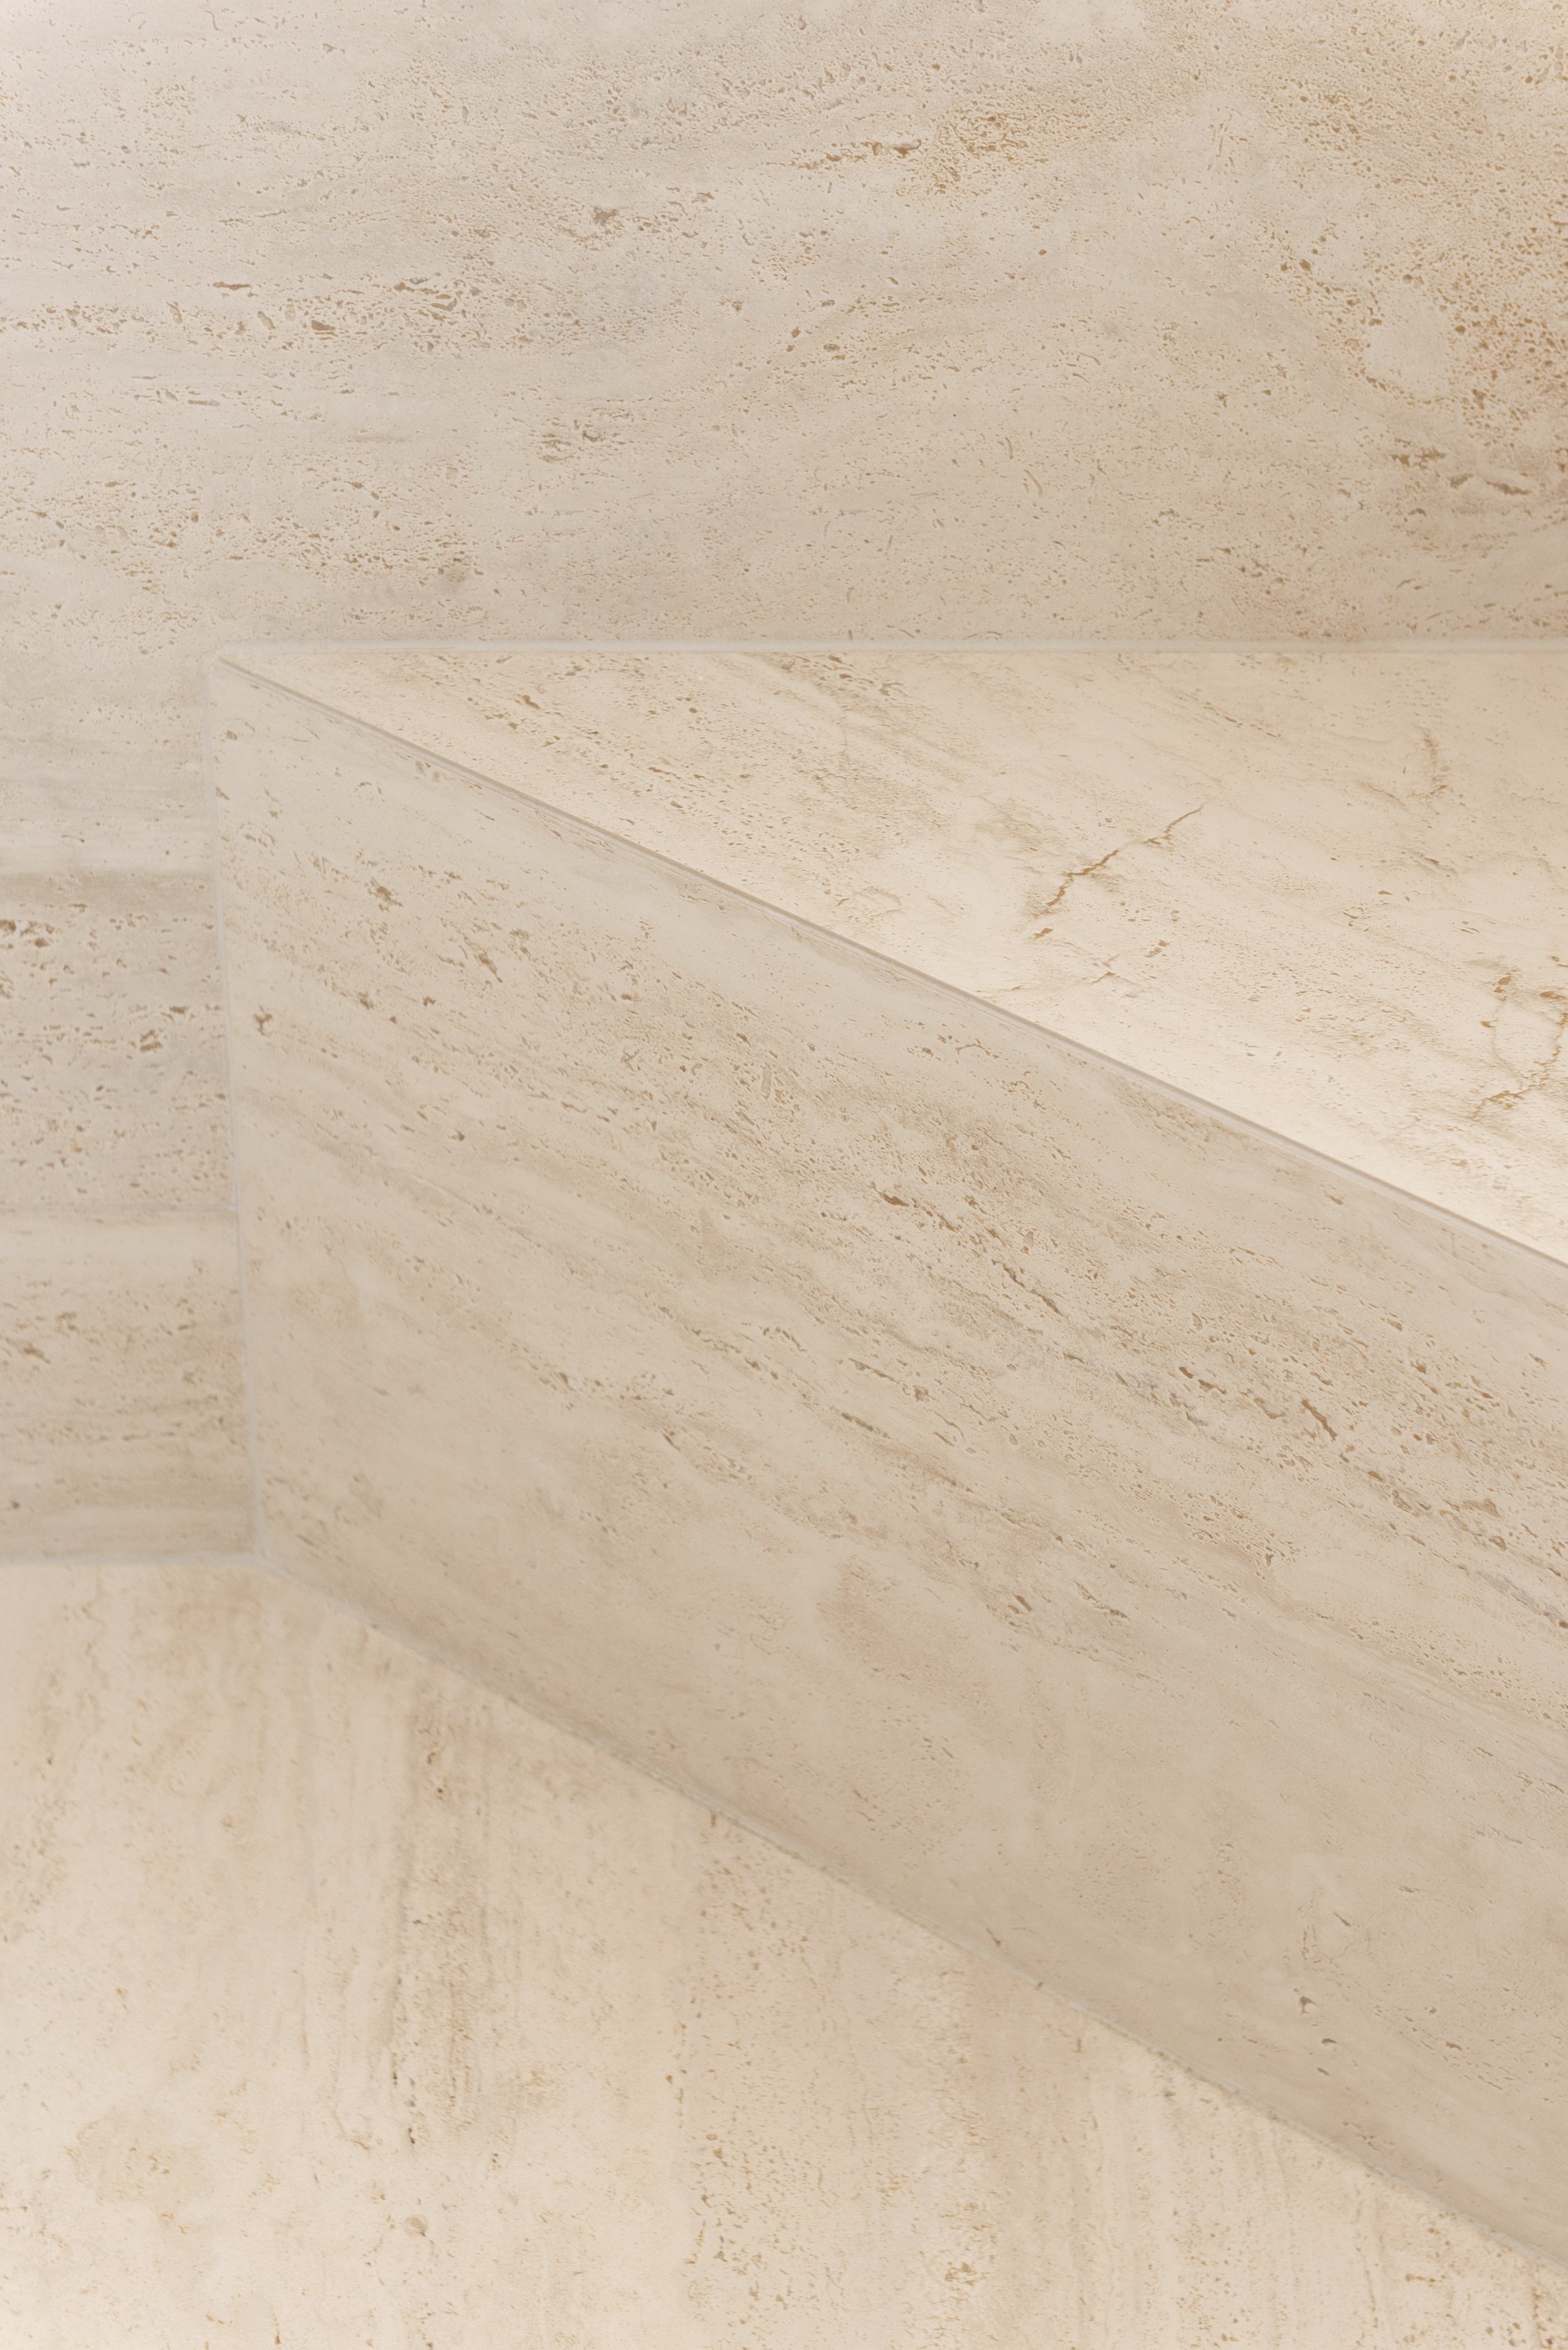
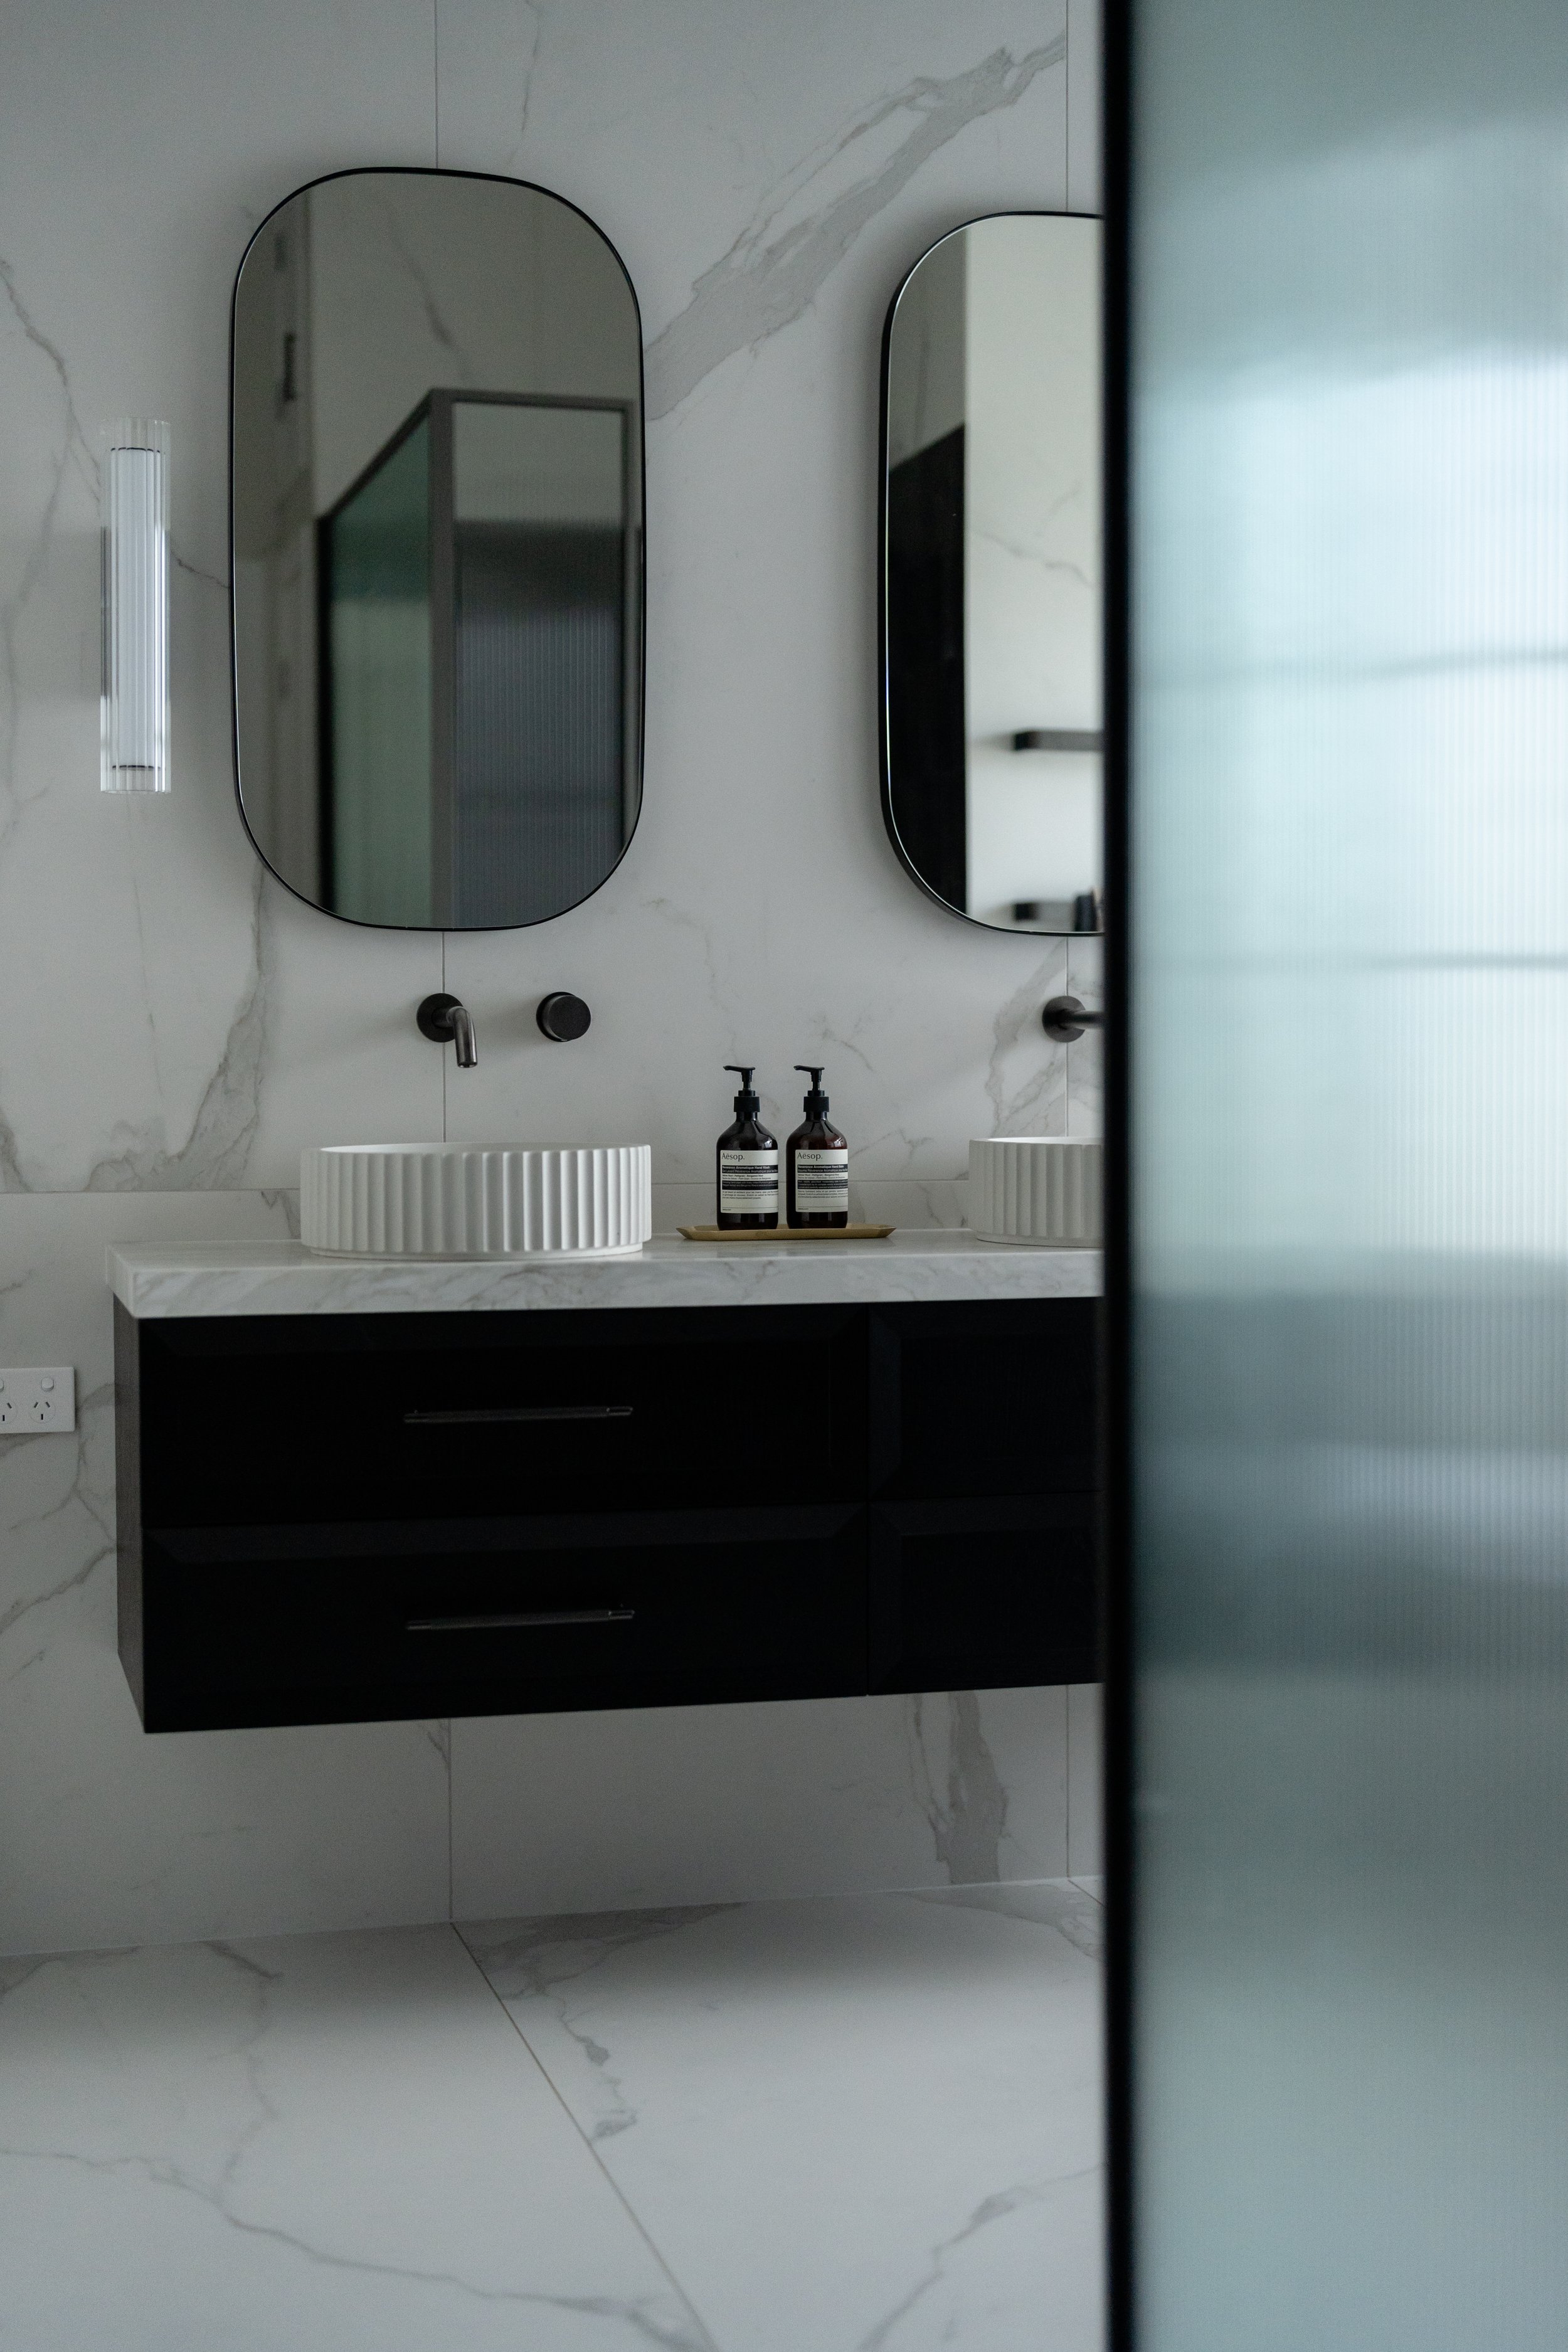
You can lay your large-format tiles in different ways to achieve different looks, like positioning large rectangular tiles vertically to create a more modern look and a sense of height.
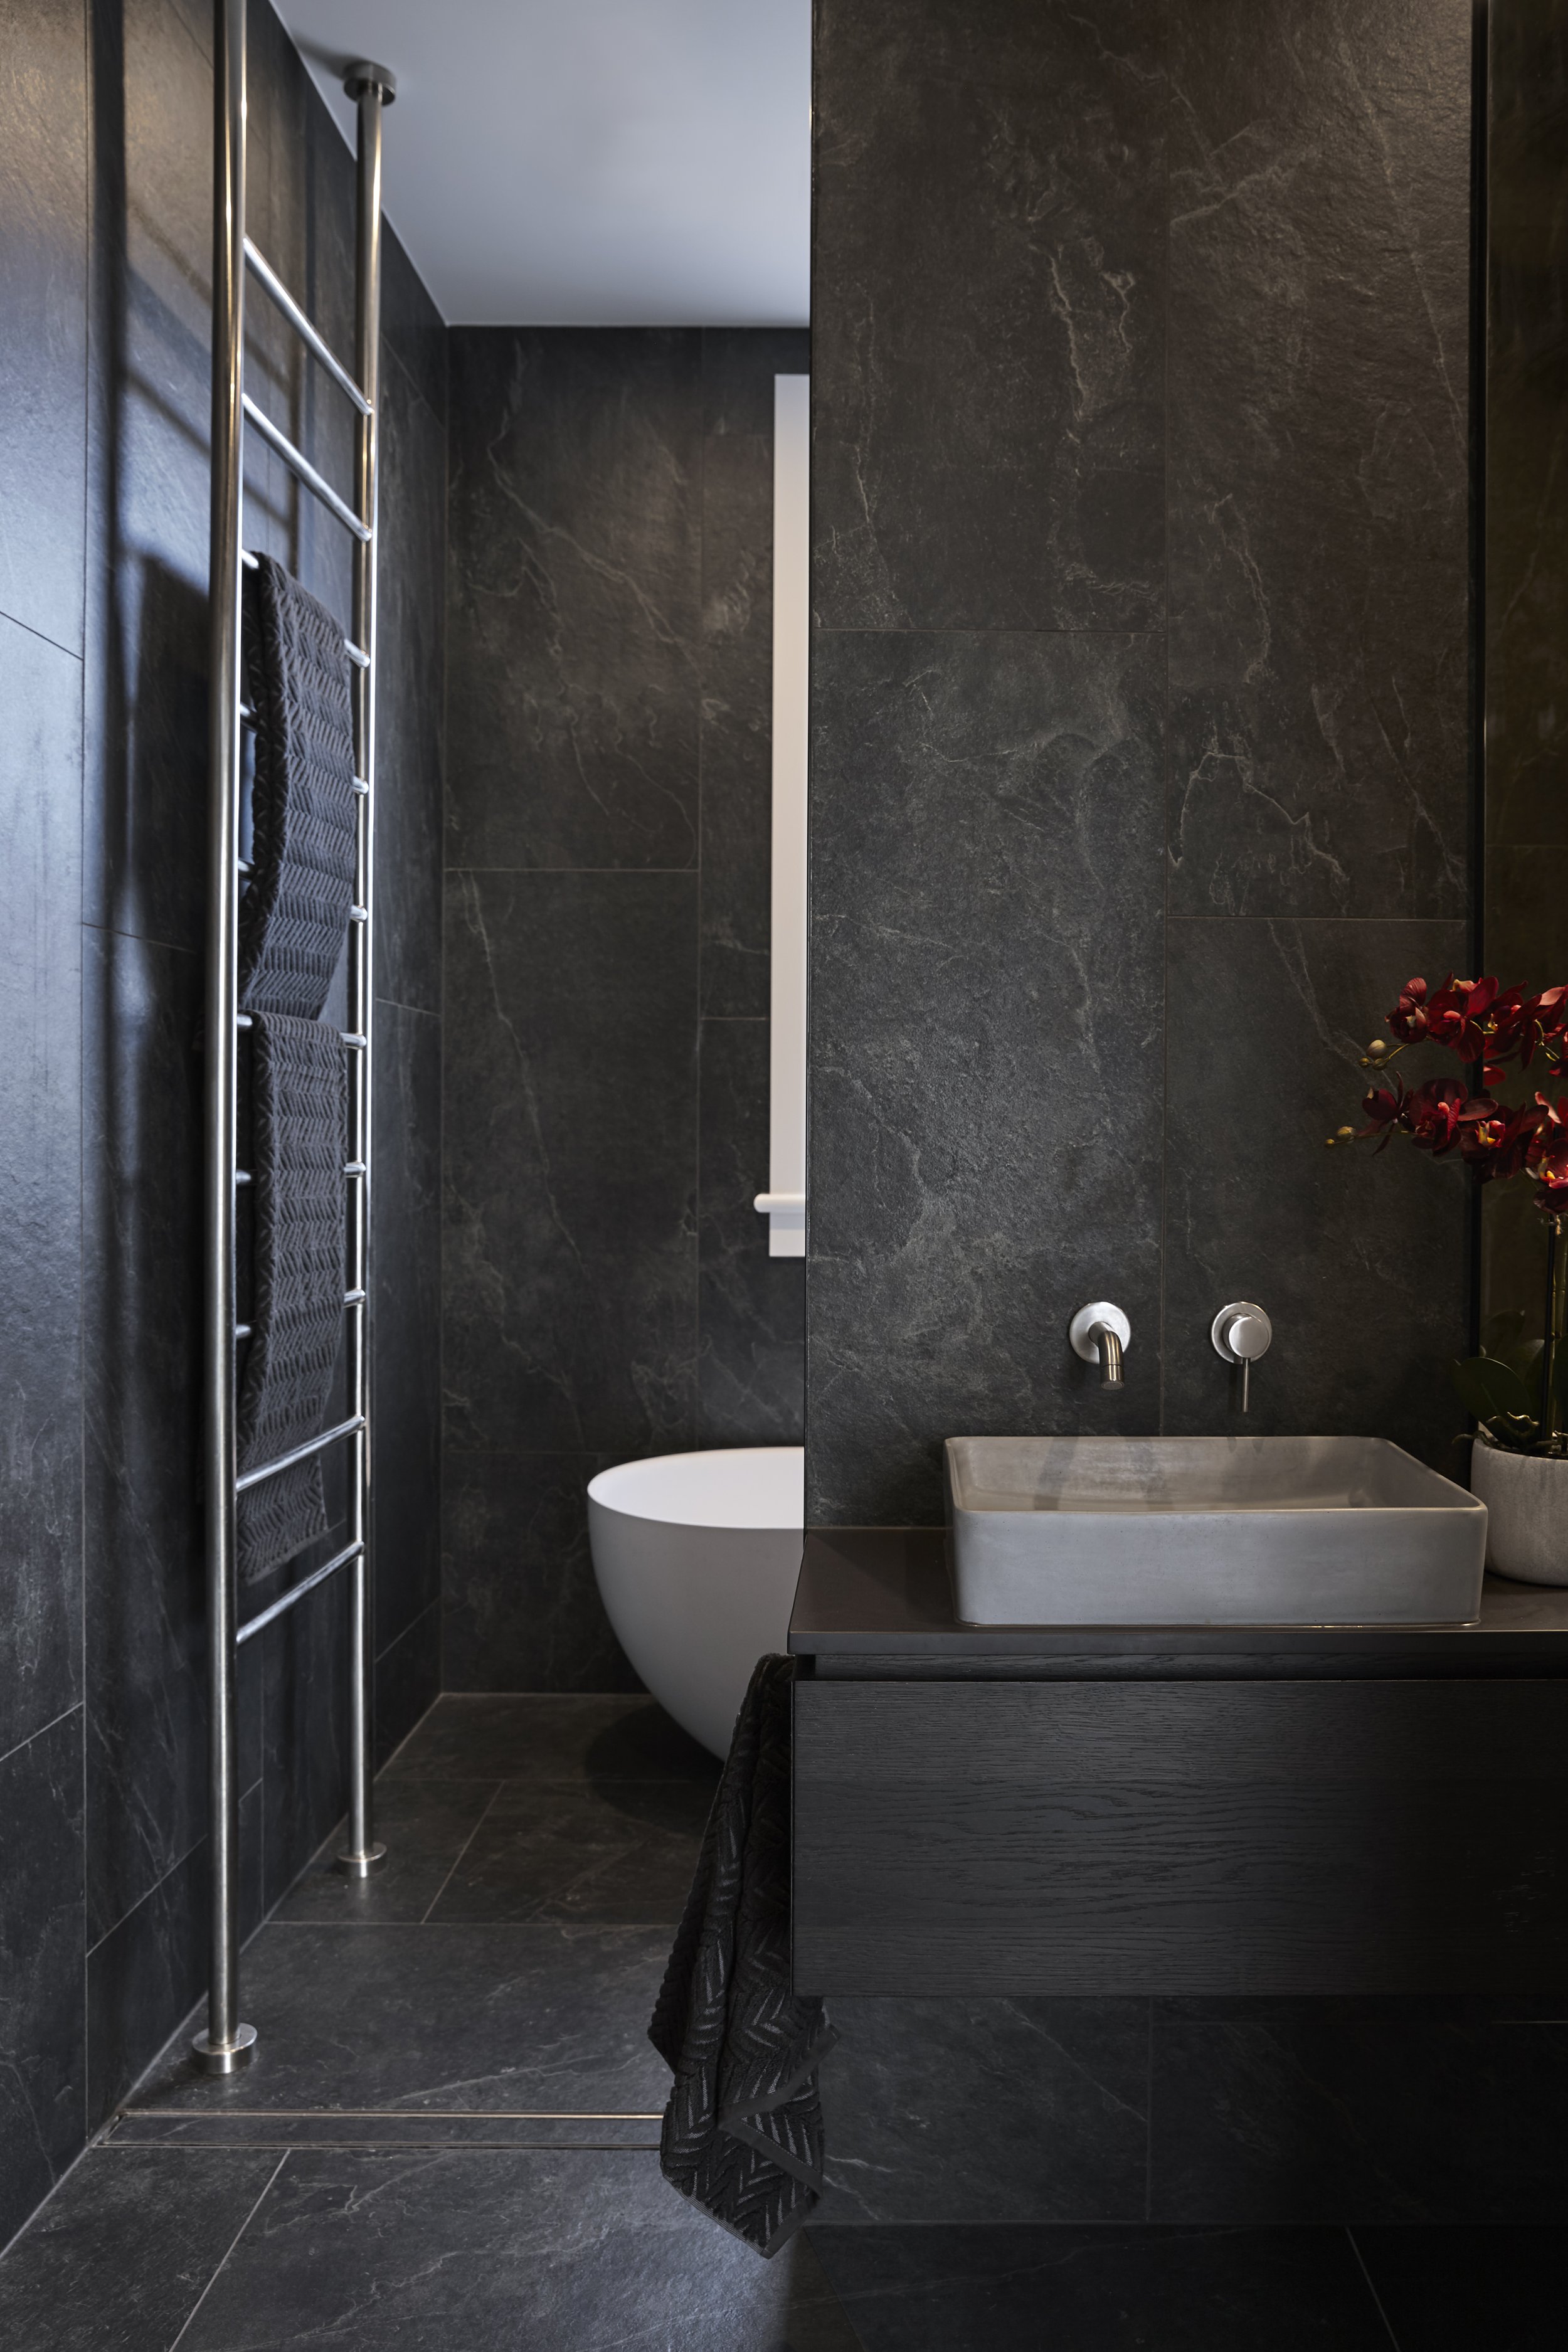
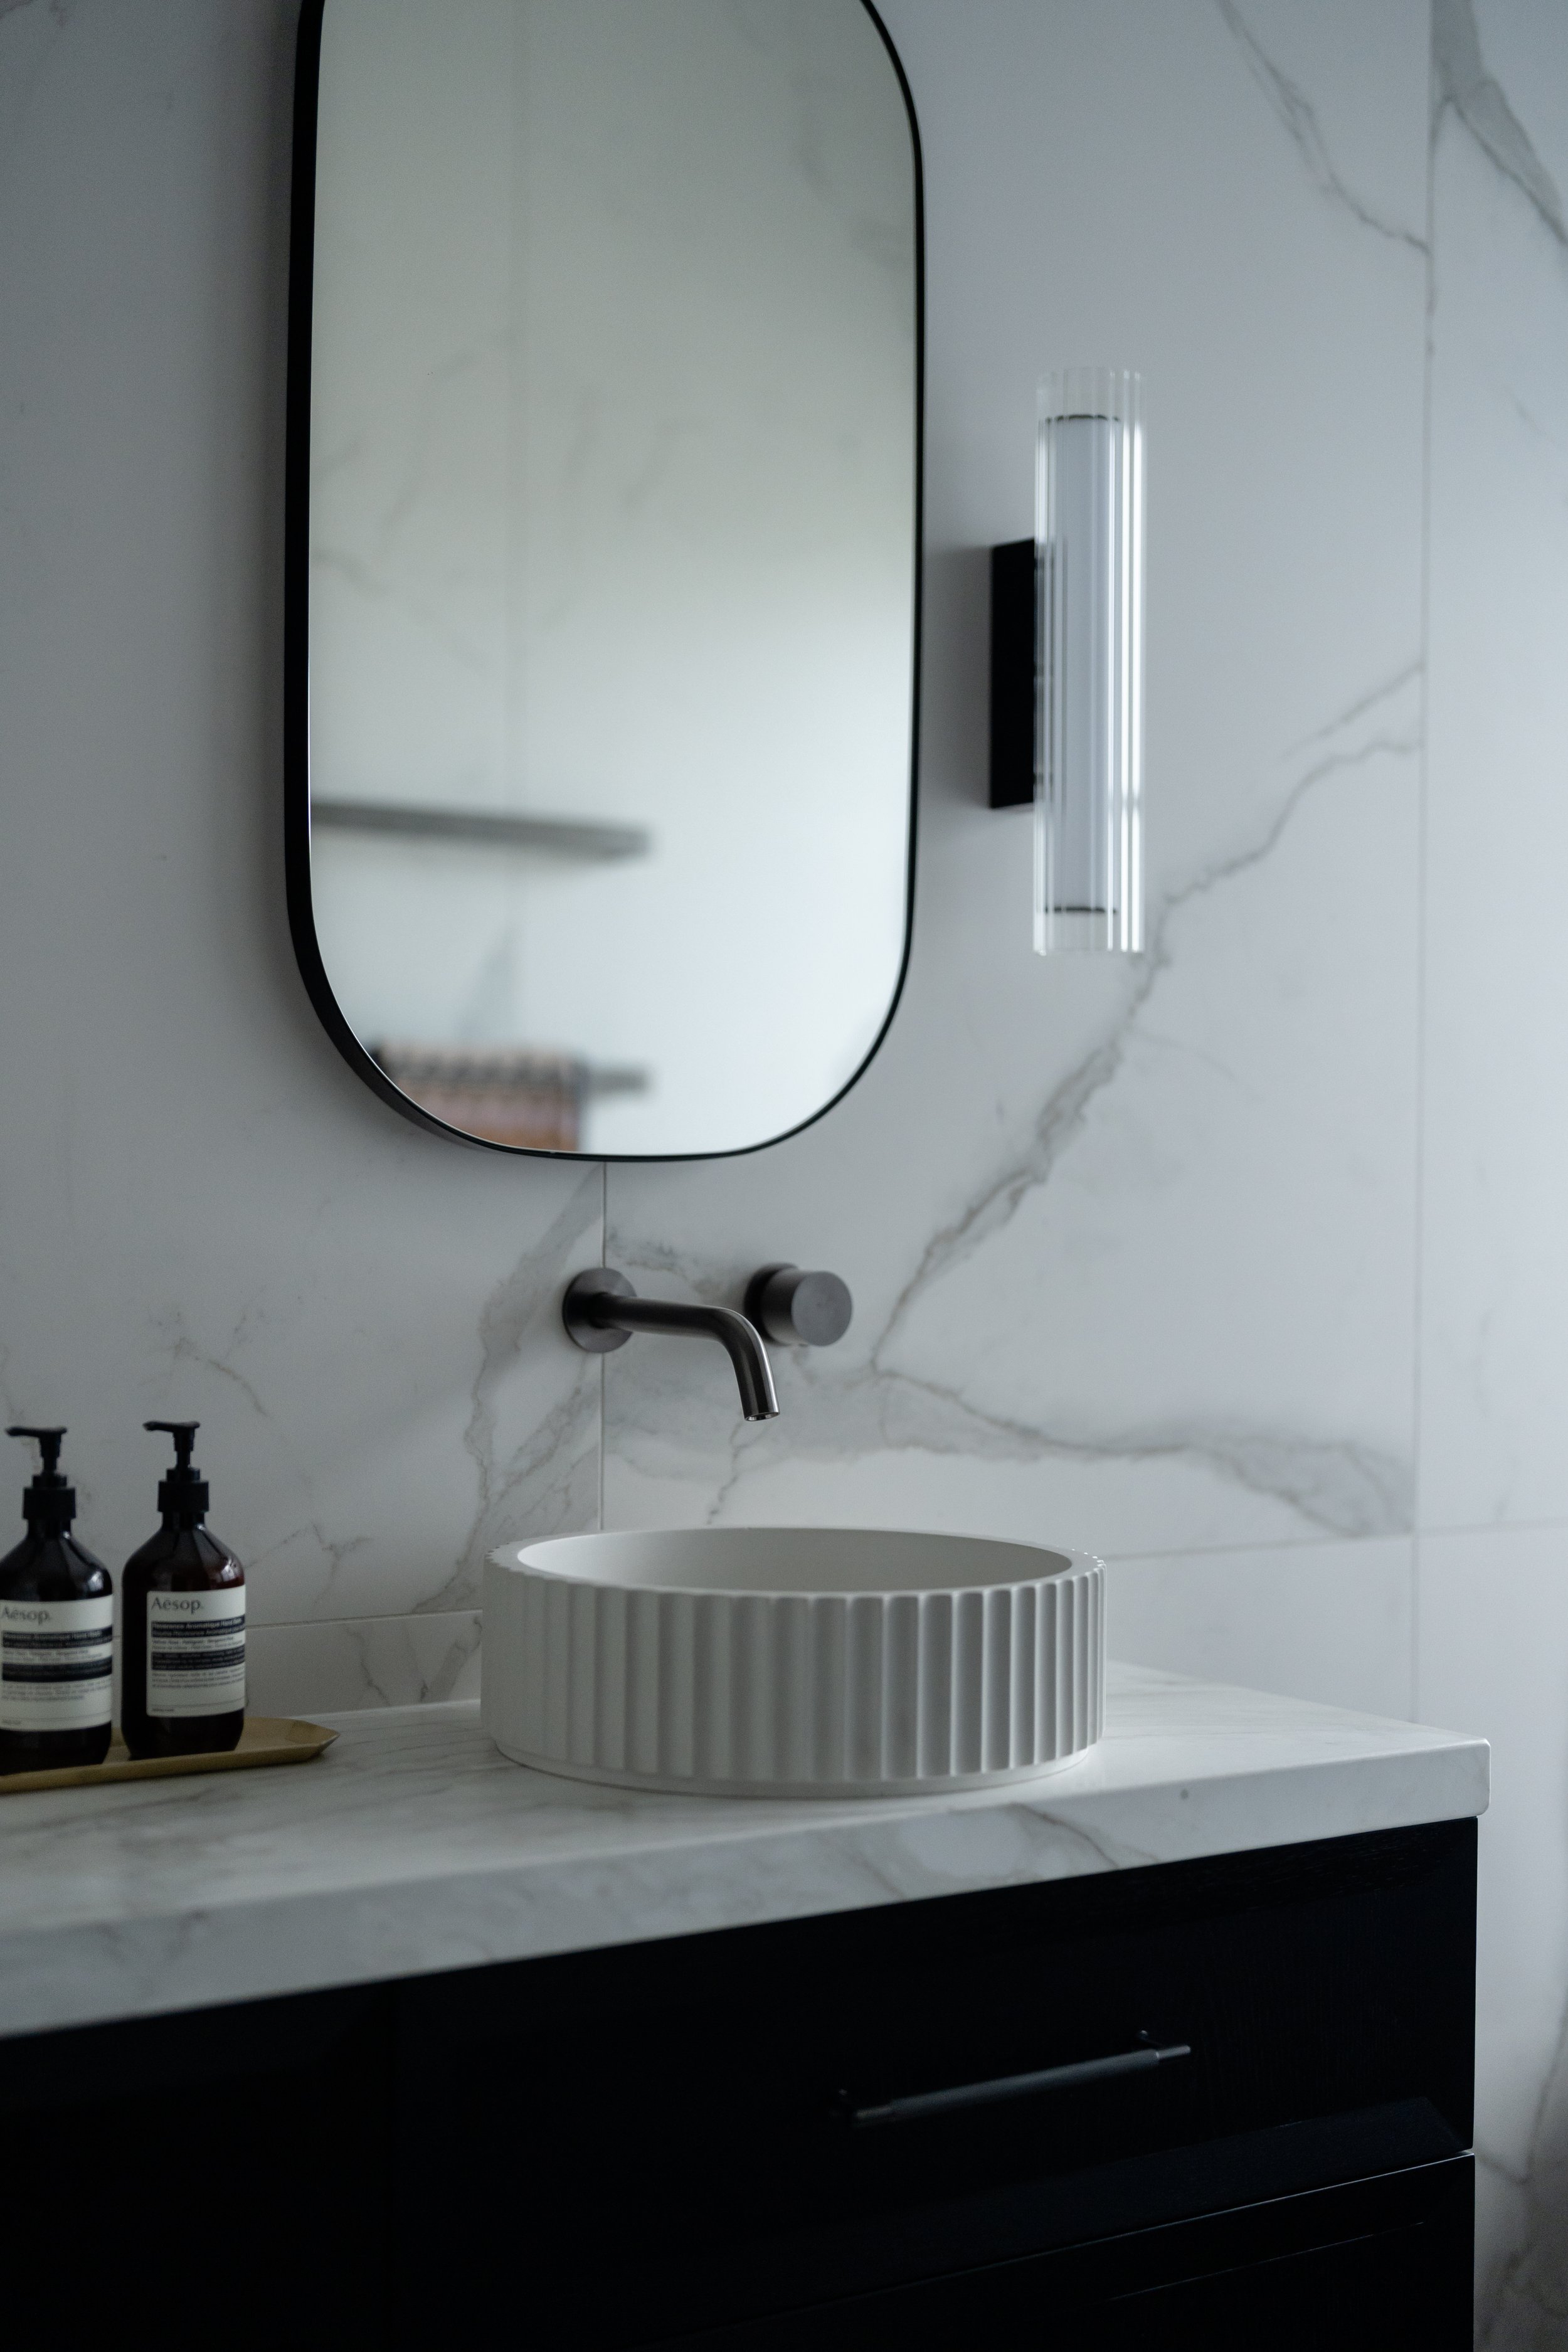
Large porcelain tiles that mimic natural stone are calming, cost effective and practical. They create a spacious look, a slight texture that helps hide everyday marks between cleans, and they have a calming effect that makes you feel like you’re surrounded in nature. For your main bathroom tile choose a size as big as possible (at least 600mm x 600mm) for an expansive, luxurious feel.
Tile sheets are huge tiles up to 3m high made from hard-wearing porcelain with a thin profile to make cutting them to fit different bathroom spaces possible. The result is fewer lines, fewer interruptions of pattern and therefore less visual clutter. Note of caution — you’ll need a specialty large-format tiler for these!
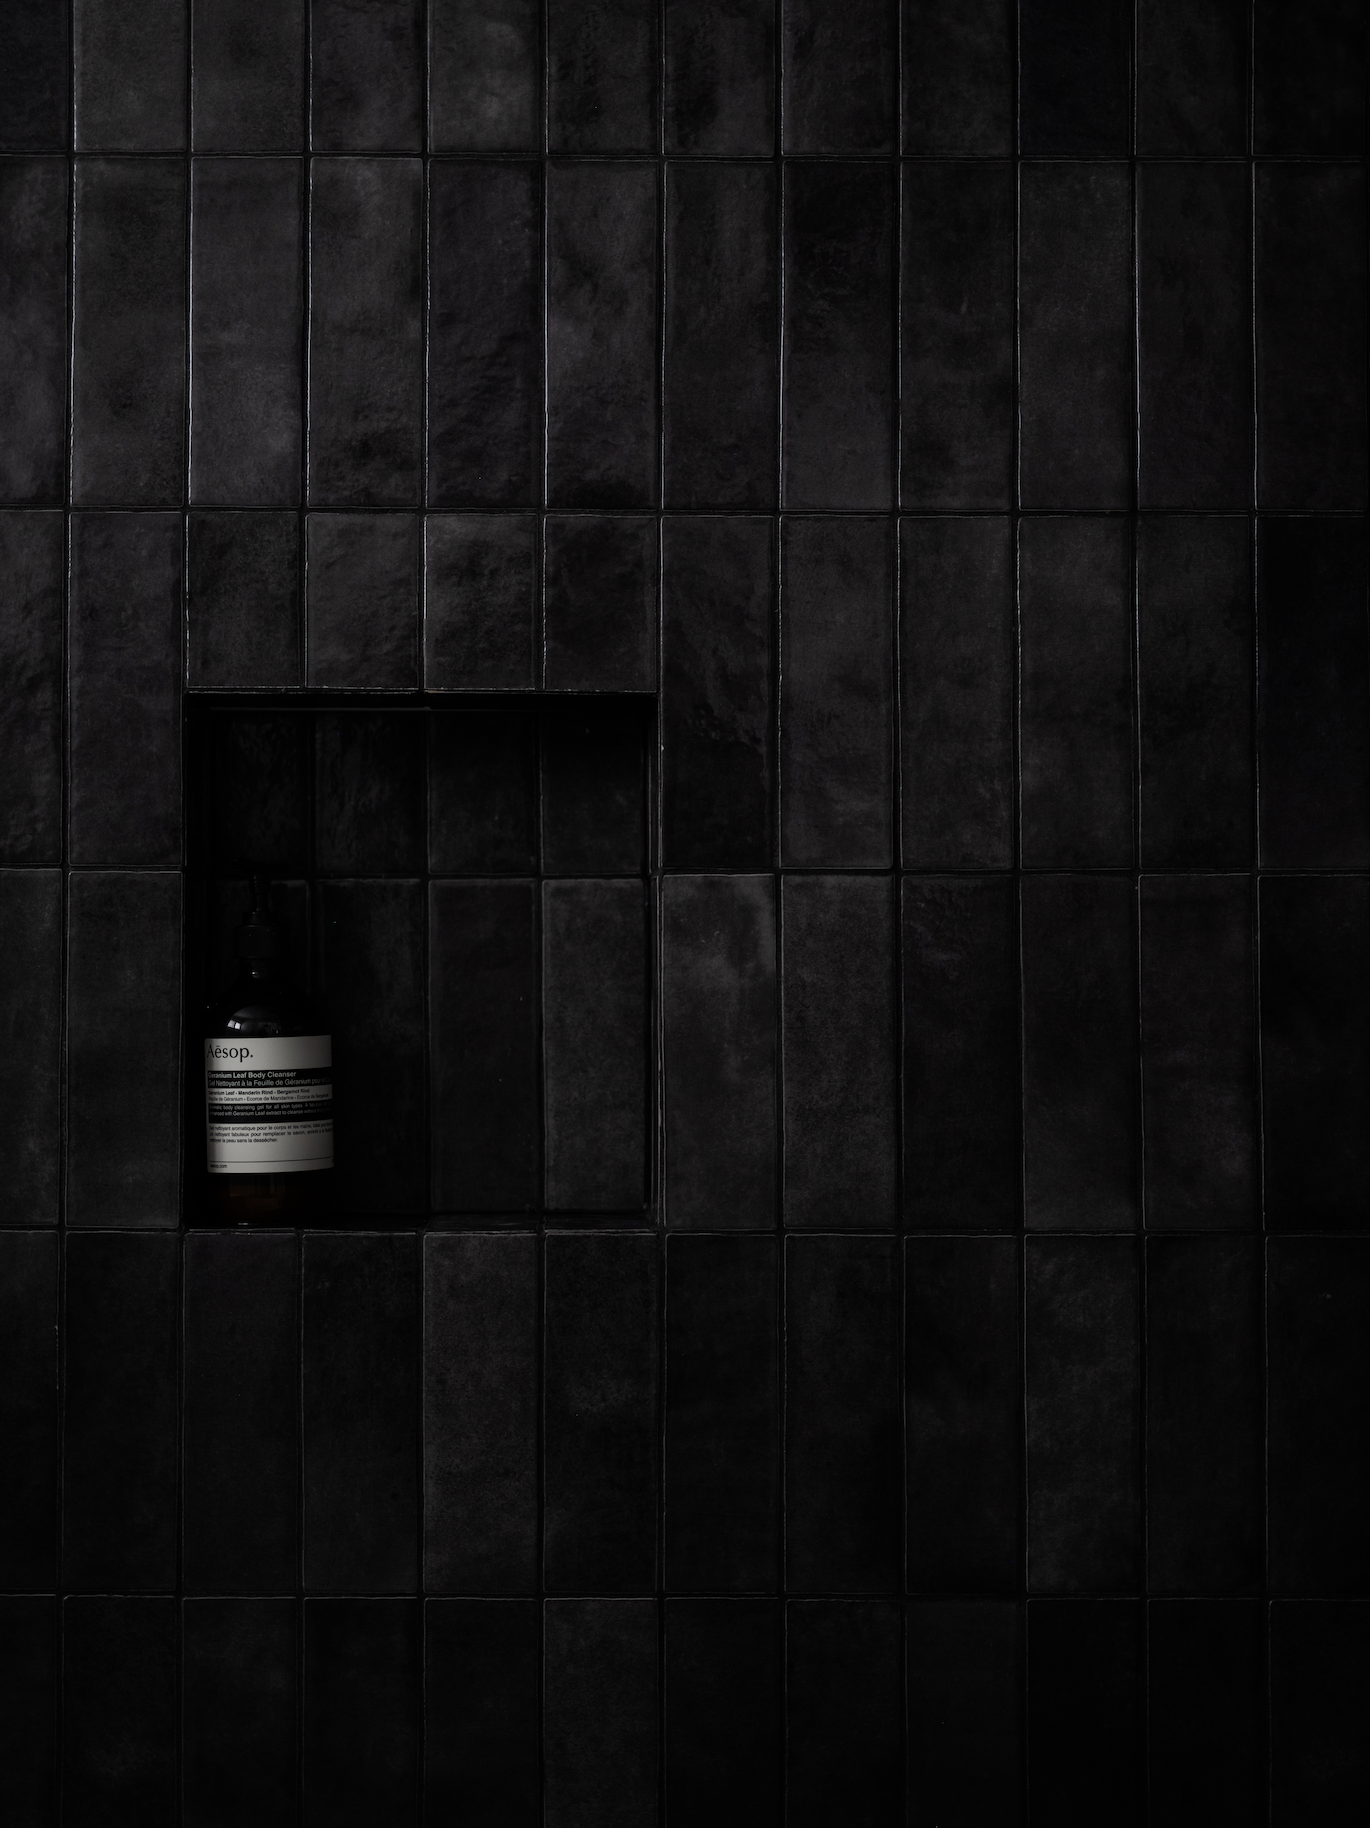
There are so many tile sizes, colours and finishes and it can be really difficult to choose the right one. Get samples of your large materials (benchtop, flooring, cabinetry, paint) and put different tile samples beside these to see how they relate. Some greys have a cool blueish undertone, and some have a warm brownish undertone, and the only way you’ll know if the undertone is off is by placing your tile alongside other materials in your house.

Choosing a tile
Discuss the type of tiles you envision for your project with your tiler. Consider factors such as durability, maintenance requirements, and visual appeal. If you have specific tile options in mind, share them with your tiler. They can provide valuable insights into the pros and cons of different materials and help you make informed decisions. Tilers also have accounts with trade-only suppliers that might stock some hidden gems!
Thoroughly discuss the condition of the surface where the tiles will be installed before choosing and ordering tiles. If there are any existing issues, such as cracks, unevenness, or moisture problems, address them during a meeting with your tiler - they may need to carry out repairs or modifications to ensure a stable and long-lasting tile installation.
Don’t purchase tiles before getting the measurements checked by a tiler. There are lots of factors like windows, recesses and plumbing fixtures that affect how tiles will be cut, what the wastage is and the contingency you’ll need. Ordering all the tiles you need at once is important as different batches have slight colour variations, especially natural stone such as marble.
Openly discuss your budget and timeline expectations with your tiler during the briefing. Establishing a realistic budget will enable the tiler to suggest appropriate tile options, adhesive materials, and finishes that align with your financial plan. Moreover, clarifying the project's timeline will ensure both parties are on the same page regarding deadlines and availability.
There are always two costs when tiling — the cost of the tiles and the labour cost of installation. Natural stone is incredibly beautiful but is more expensive both to buy and install. It often has a thicker profile, so can be tricky to match to existing floor levels and it needs a fabricator to cut it. If you’re on a budget, opt for a porcelain tile that’s easier to install, is incredibly hard-wearing and has a slimmer profile.
The install
Share visuals with your tiler that will help them understand your preferences and guide them in realising your vision. Go a step further and put together a moodboard, including specific hardware and paint colours for the space, so you can see how they will pair back with the tiles. The clearer you are with your visuals, the better, so start pinning now.
Communicate your desired tile layout and design to your tiler. Explain any patterns, borders, or focal points you would like to incorporate. Consider the scale and proportion of the space to ensure the design complements the overall aesthetic of the room.
Discuss finishing details, such as grout colour, trim options, and sealing requirements. These seemingly minor details can significantly impact the overall look and longevity of the tiled area, so you don’t want to risk them being done without approval while you’re out.
Always ask the tiler how they are going to join the tiles around corners. Often you won’t be home while they’re doing the work and you’ll return to unsightly metal strips everywhere!
If you want a large seamless-looking space, match your grout to your tile colour. If you want to create more contrast or play up a pattern, choose a grout lighter or darker than your tile.